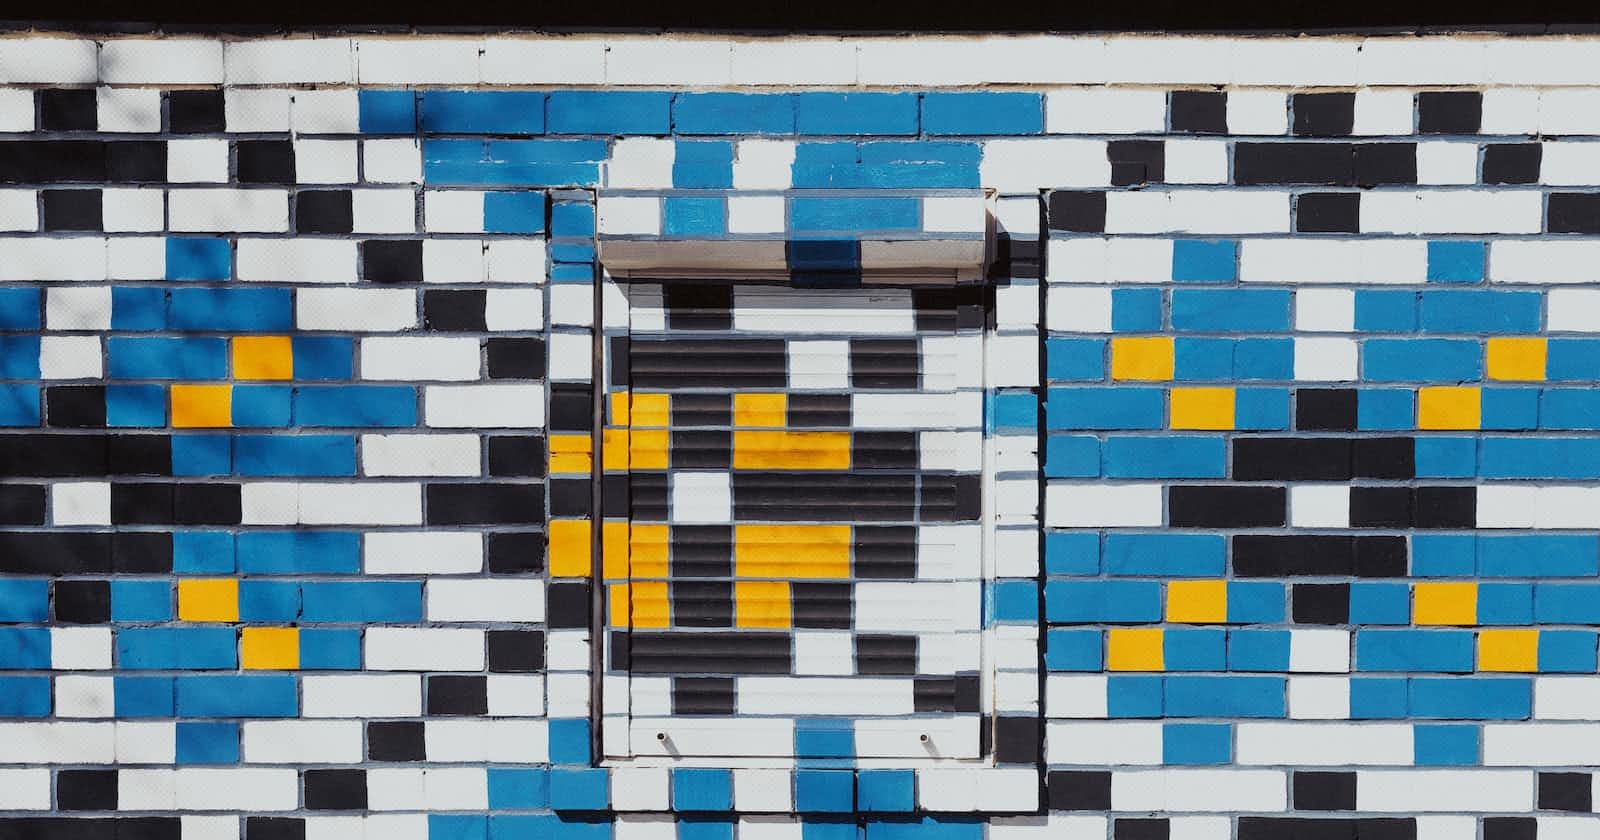
Photo by Marjan Blan | @marjanblan on Unsplash
Pixy - Create Pixel Art
Project submission for #2PlaysAMonth
Creating pixel art can be a fun and engaging activity for people of all ages and skill levels. With its blocky pixelated graphics, it has become a staple in the world of video games, as well as in the realm of art and design. In this blog, I am writing a basic overview of how I created a pixel art creator for ReactPlay - #2PlaysAMonth
Introduction
This tool allows users to create Pixel art by placing colored squares on a grid and saving them as a jpg image. There are four main features in this project.
Creating pixel art in the drawing panel.
Selecting a color from the color picker.
Allowing users to save the art with the save button.
Allowing users to reset the drawing panel with a reset button
Creating Pixel art
DrawingPanel - used to make the grid and also contains the login to save and reset the pixel creator.
Row - Each Grid consists of rows which is equal to the height of the grid. The row component then calls the Pixel so that each row will be filled with a div of size 1.25em.
 function Row({ width, selectedColor }) {
   function getPixel() {
     let pixels = [];
     for (let i = 0; i < width; i++) {
       pixels.push(<Pixel key={i} selectedColor={selectedColor} />);
     }
     return pixels;
   }

   return <div className="row">{getPixel()}</div>;
 }
Pixel - The pixel component denotes each pixel or square-shaped box in the grid. This component contains logic to apply color to any pixel on click of the square box/pixel.
 function Pixel({ selectedColor }) {
   const [pixelColor, setPixelColor] = useState("#fff");
   const [oldColor, setOldColor] = useState(pixelColor);
   const [canChangeColor, setCanChangeColor] = useState(true);

   function applyColor() {
     setPixelColor(selectedColor);
     setCanChangeColor(false);
   }

   function changeColorOnHover() {
     setOldColor(pixelColor);
     setPixelColor(selectedColor);
   }

   function resetColor() {
     if (canChangeColor) {
     setPixelColor(oldColor);
     }
     setCanChangeColor(true);
   }

   return (
     <div
       className="pixel"
       onClick={applyColor}
       onMouseEnter={changeColorOnHover}
       onMouseLeave={resetColor}
       style={{ backgroundColor: pixelColor }}
     >
     </div>
   );
 }
In this component, we require
oldColorandpixelColortwo separate states because when the user hovers over a pixel, thechangeColorOnHoveris called which temporarily changes the color of the pixel to the currently selected color to provide a preview of what the pixel will look like if the user clicks on it. However, once the user moves the mouse away from the pixel, theresetColorfunction is called, which restores the previous color of the pixel.
Selecting a color from the color picker
To add a color picker we would need react-color package.
import {CirclePicker} from "react-color";

function DrawingPanel() {

// old logic here

 return(
    <div>
        <CirclePicker color={selectedColor} onChangeComplete={changeColor} />
        <div ref={printRef}>{getRows()}</div>
    </div>
)
}
Saving the pixel art
To save the component we can use html2canvas. You can refer to this blog for more details.
import html2canvas from 'html2canvas';

function DrawingPanel() {

  const printRef = useRef();
  // old logic here

  async function handleDownloadImage(){
    const element = printRef.current;
    const canvas = await html2canvas(element);

    const data = canvas.toDataURL('image/jpg');
    const link = document.createElement('a');

    if (typeof link.download === 'string') {
      link.href = data;
      link.download = 'image.jpg';

      document.body.appendChild(link);
      link.click();
      document.body.removeChild(link);
    } else {
      window.open(data);
    }
  }

 return(
    <div>
       <div ref={printRef}>{getRows()}</div>
      <div>
        <button className="saveArt" type="button" onClick={handleDownloadImage}>Save</button>
      </div>
    </div>
 )
}
Resetting the grid
To reset the grid we can create a state variable to track the key of the rows. Whenever you want to reset the rows, you can increment the key value, which will trigger the creation of new rows with the initial color.
So in the drawing panel, we will update the key props we are passing to the Row.
function DrawingPanel() {

  const [rowsKey, setRowsKey] = useState(0);
// old logic here
  function getRows() {
    let rows = [];

    for (let i = 0; i < panelHeight; i++) {
      rows.push(<Row key={`${i}-${rowsKey}`} selectedColor={selectedColor} width={panelWidth} />);
    }

    return rows;
  }

  function handleReset(){
    setRowsKey(rowsKey + 1);
  }

 return(
    <div>
        <div ref={printRef}>{getRows()}</div>
         <div>
           <button className="saveArt" type="button" onClick={handleReset}>Reset</button>
         </div>
    </div>
)
}
This was a small side project I created on react play. You can get more information on react play on this site.
Thank you for reading this blog!!
